"When you give a gift made with love,
It turns it into something priceless."

Get Hooked Website

My NEW LOOK Website Get Hooked on Crochet is here

Online Crochet Course

Learn to Crochet ONLINE
All 3 courses available in UK Crochet Terminology -Learn to Crochet from the comfort of your own home when YOU have some spare time, whatever time of day! The course never closes so you can return as often as you like, as many times as you like + you can add questions & photo's & have me as your virtual Crochet Teacher !

Followers

Showing posts with label Free Tutorial. Show all posts

Thursday, 3 January 2013

Day 3 ASAD + More Free Tutorials


Day 3 means that I can show you how to join as you go when you come to working 3 corners together.

On square 3, Granny Shell your way across to the first corner as per the picture below

Now insert your hook into the 3 chain corner space of the Granny Square directly above


WOH and pull through to the front, then make a chain by slipping the wool you have just pulled through, through the loop on the hook
That's 1 chain of the 3 you need for a corner space

Now you have joined Square 3 to Square 2


As there are always 3 chain spaces in a corner, make a chain at this stage (so this is chain 2)

Now put your hook into the 3 chain corner space of the square to your left 


 WOH & pull through 


Then slip the wool through the loop on the hook so you have one loop remaining on your hook and you have made chain 3 for that corner space


Now continue to work your Granny Shells (three trebles) all the way around as per the pattern on Day 1


And there you have it!

Day 3


And here are all 3 squares together so far


Wednesday, 19 December 2012

Granny A Day 353, 354 & WIP's & Free Tutorial!!

I am posting GAD 353 one day late - sorry folks!
I simply forgot to blog yesterday - not like me I know, but hey, I am only human and I do forget things!


Now that my Crochet Lessons have slowed down, due to the Festive Season being upon us shortly, I have had time to catch up on one particular favorite WIP

My Ripples Blanket

I love the colours and I can't wait to finish it and put it at the end of a bed, or draped on the stair banister or casually placed on a sofa in the conservatory or......


Wherever it ends up, it will brighten up any room!

This is Granny A Day 354


It's probably hard to see but my square (without the orange border) is at the bottom of the book page.

I had very similar colour yarns to the one in the book so I decided to follow it colours and all!!


And here it is attached to my GAD blanket

Now for a small FREE TUTORIAL

BPDC
Back Post Double Crochet

As you can see I have started on my border of my GAD blanket

It would have been too big a job to tackle in the last 5 days of the year with all the festivities going on, so I have made a row or Trebles in Yellow

The next row in Green is Double Crochet

and Row 3 is also Double Crochet in Blue, but it's BACK POST DOUBLE CROCHET


And here's how you do it......

Put your hook under both front and back loops (in this case the green row) of the row below from the back of your work to the front as in the photo below


Then you put your hook from front to back around the "post" of the stitch of the row below and WOH (wool over hook) - just lever the hook handle towards you so that the hook head is facing away from you to get "around the post of the stitch"


And pull it through so that you have 2 loops on the hook


Then WOH again and


pull that through both loops on the hook to finish the BPDC (back post double crochet)


As you can see in the photo above, using this method makes the Green DC's push towards you, both front and back loops are clearly visible and create a lovely effect.


Saturday, 24 November 2012

Free Pattern! - Crochet Hair Bow & GAD 329


Before I share my free pattern with you, I would like to share Granny A Day 329!

It's this rather lovely pattern from the Edie Eckman book that I mentioned yesterday.

The pattern reminds me of the "twirly's" that you get on the end of a stick that twirl when the wind blows


Now for the free pattern which I wrote today, so I though I would give you all an early Christmas Present.

Crochet Hair Bow or Bow Brooch


Using DK wool / yarn and a 4mm hook
Tension is not important

For the Bow body

Chain 30 
 Oops I didn't notice that "holey" one!!


Join with a slip stitch into the first chain made to form a loop – take care not to twist the chain.


Row 1:  Chain 1 & Double Crochet in each stitch to end, then join with a slip stich into the chain 1

Row 2:  Chain 3 & Treble Crochet in each stitch to end, then join with a slip stitch into the 3rd chain of the chain 3
Row 3:  Chain 3 & Treble Crochet in each stitch to end. Join with a slip stitch into the 3rd chain of the chain 3.


Row 4:  Chain 1 & Double Crochet to end & join with a slip stitch into the chain 1.
At this stage it's a good idea to give a little "tug" to the foundation chain at either end to pull the body of the bow into shape.


DO NOT FASTEN OFF!!
Now for the Middle bit
Now chain 8
 &


 then Half Treble crochet into the 3rd chain from hook. Half Treble Crochet to end of the chain and then slip stitch into the body of the bow to “anchor”
Htr's down the chain to the  body of the bow

"Anchoring" the middle with a slip stitch to secure


Flatten the body of the bow so that you have 2 layers lying flat, with the "middle" bit in the middle.

Now wrap the “Middle bit” around the back of the bow body (so under both layers) and insert the hook into the end of the middle bit – try to catch


two strands with your hook & slip stitch, pulling tight.


Remember to pull tight before fastening off


Fasten off and darn in the end.
Now pull the bow to shape & attach either a hair clip or a brooch back to the bow!


Ta - Dah


Hope you like it.
Please let me know if you have any problems 


Monday, 26 March 2012

Ripples Blanket - Free Tutorial

Ripples Blanket

Here is my Ripples Blanket in Progress


I promised that I would share the pattern with you


So I hope that you can follow this very simple tutorial


Via a Crochet Chart Diagram 


To see a clearer diagram, please click on the FREE TUTORIALS tab above

Just remember to put 2 trebles into the very first chain/stitch (or 3 chains to count as one treble + one treble) and the last chain too!

You can do as many or as little colour changes as you want too - make it unique and do it your way!

Here I have used DK weight yarn with a 4mm hook 


***ALWAYS TRY A SAMPLE FIRST E.G. CHAIN 39 AS IN THE DIAGRAM ABOVE AND MAKE A FEW ROWS AS A "SAMPLER" JUST SO YOU CAN GET THE HANG OF IT***

Friday, 17 February 2012

Bunting Mania is back + Day 48

Yes Bunting Mania is back!

So many people asked me to write out the pattern for the Bunting, so you can find it on the FREE TUTORIALS page - just scroll right down to the end when you get there and you will find it!


These are some I made earlier


I had to sew some of my lovely new "hearts" & "flowers" buttons on to some wool
 before I used it to Crochet the Bunting together 


And here it is!


I love the colours


And you can see the buttons 


Sorry about the blurry picture


The Buttons are looking good, no not good, GREAT  


On either side of a bunting flag


And after all that here is GAD 48!


Wednesday, 11 January 2012

Day #11 - what a busy, busy day!


Ok, I am going to blog about the day as the day went along as there is SO much to tell you from a crochet point of view of course!

Firstly I have to go back to last night - my hubby told me that our friends baby is arriving very soon - 3 weeks in fact, so I ran upstairs to see if I had any baby wools (3 or 4ply) as I hadn't noticed any in my stash audit the other day.  Well I didn't have any, but then I had an idea that I forgot to count some wool in my guest bedroom wardrobe, so I went to look in there and guess what - I found some White, Baby Blue, Baby Green, Baby Yellow & Baby Pink all in 4ply. So once I got settled for the evening I made a start on a Baby Blanket and produced 12 rows:


It's making up very slowly due to the fineness of the wool

More good news from last night is that I got a text message to confirm a Group of 2 class for this coming Friday - both beginners and both excited to get started - I can't wait!

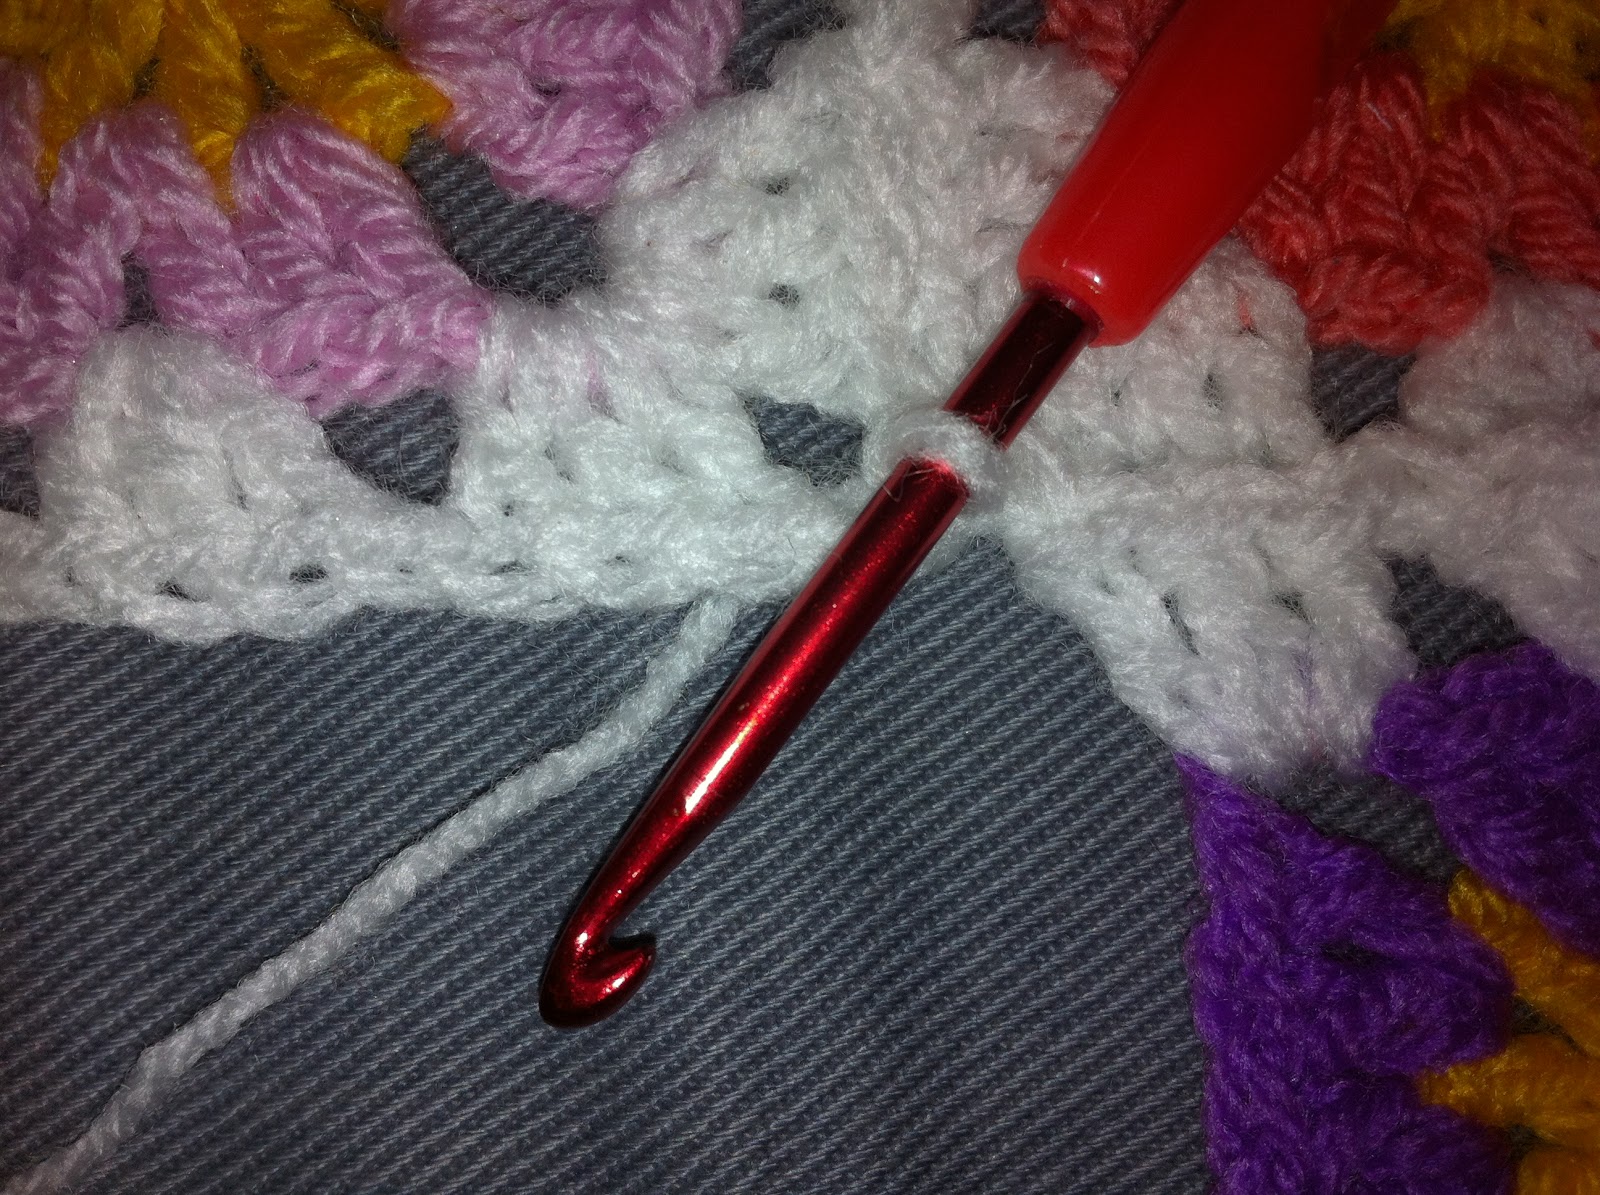
Now to this morning, 9.30am in fact - I know that I have a 10am class this morning so I get my room nice and neat - not that its ever not neat, but I make sure that its all tip top and that the kettle is full!  These little bits are important you know!  So, whilst I am waiting for my pupil to arrive I start to crochet in extra chunky wool and a 6.5mm hook - can you guess what I am doing yet?

Yes, I going to make another tutorial - well 2 actually!!

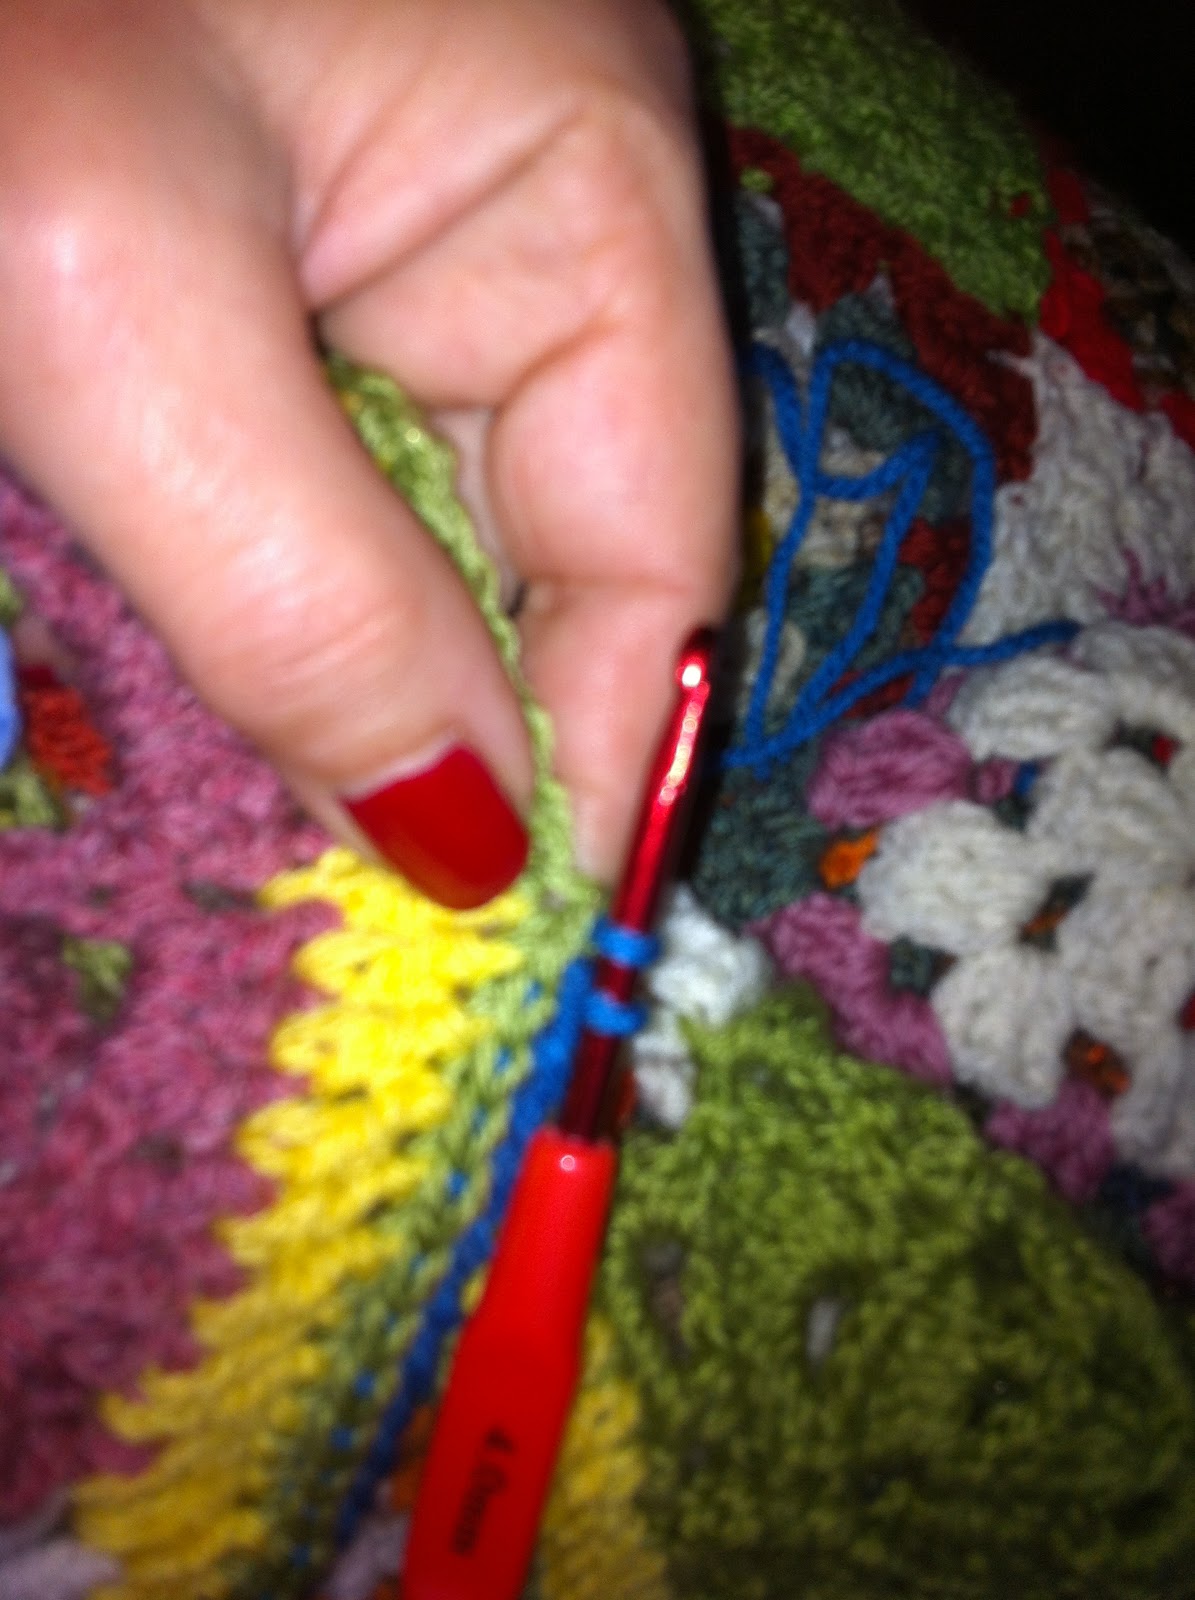
However I only had time to set up a few shots when the doorbell rang.  My 10am Lady was standing there with a huge grin on her face and chatting all the way up the stairs.  I knew that she wanted to learn joining colours in a Granny Square, so we went through the next 2 hours doing exactly that!

Here's one of the squares she made

Now I have to admit that I cheated a little here, because the square that I was working on as the tutorial of my class, is the square that I am submitting as Granny A Day no. 11


In addition to finishing the 2 hour lesson and completing the No. 11 Granny square, I also managed to make 2 tutorials today - both free to whoever needs them, but as always donations will be gratefully appreciated.  

They are both called "The Basics" and they cover :  How to make a foundation chain, Double Crochet & Treble Crochet stitches.  The first Tutorial is for Right Handers and the Second - which I have put under a new TAB is for Left Handers.

More of my already completed Right Hand Tutorials will be converted to Left Hand versions as soon as I have some more time on my hands.

Oh and I nearly forgot, I have also learnt how to allow comments to be left on every page that is now available via the TABS so if  you want to leave a comment on a specific TAB subject then you can! (or at least I hope you can if it works!)

And to sum it all up - I was honoured by the Editor of Bloggers.com today who awarded me a "FEATURED BLOG" award on their site!  How cool is that!

MACs Crochet - Find me on Bloggers.com

MACs CrochetFeatured Blogger


Awarded the "Featured Bloggers" badge on 11.Jan.12